
This is a short post on setting up the Raspberry Pi (RPi) for development for the first time.
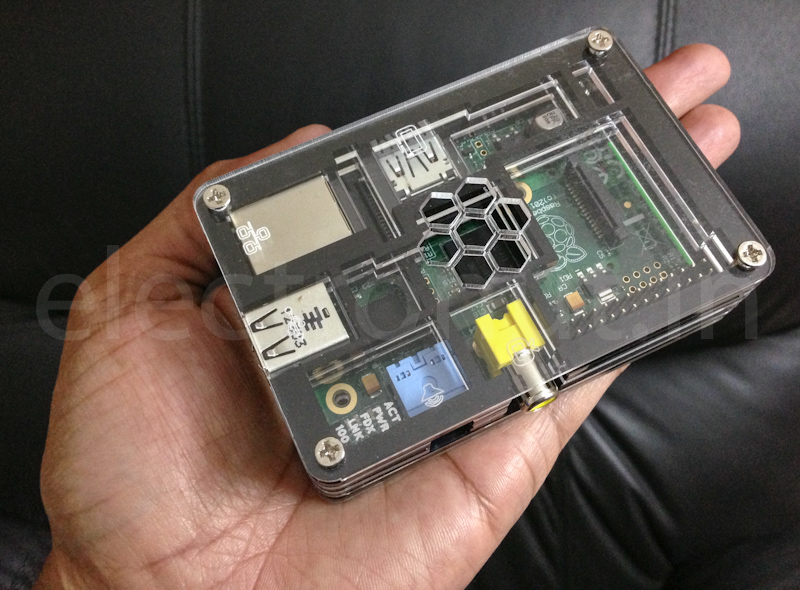
Being that the RPi is a full-fledged mini computer, it seems prudent to get a case rather than sticking wires all over it. Here's a case that I picked up from ebay:
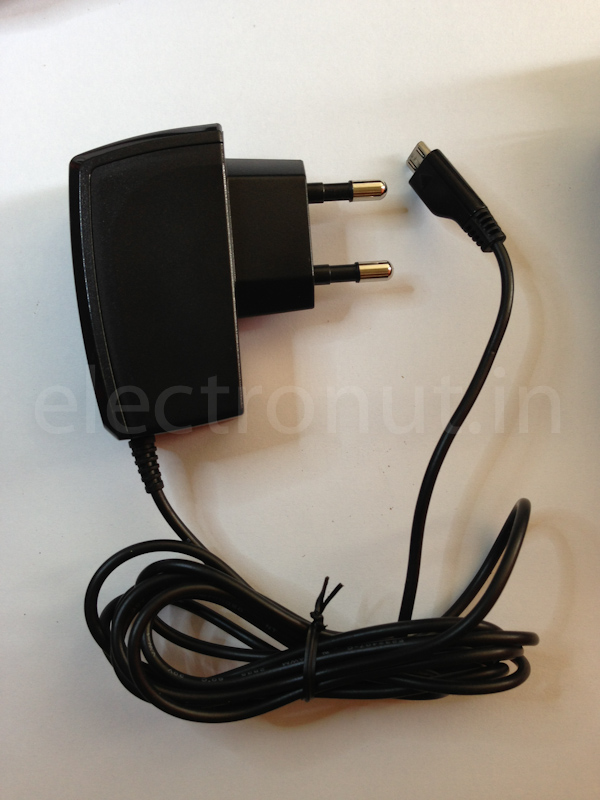
It's also very helpful to get a power adapter. This one's from Samsung (5V, 700 mA) and connects to the micro USB port:
Next, you need to install an Operating System for your RPi. What you do is to download the latest "Wheezy" from the RPi official site, and write that image on to an SD card. Here is a nice video that will help you with this part:
For the first-time setup, it is nice to have a keyboard and mouse. I got this wireless keyboard with built-in trackpad for this purpose, and it was plug & play installation with Wheezy.

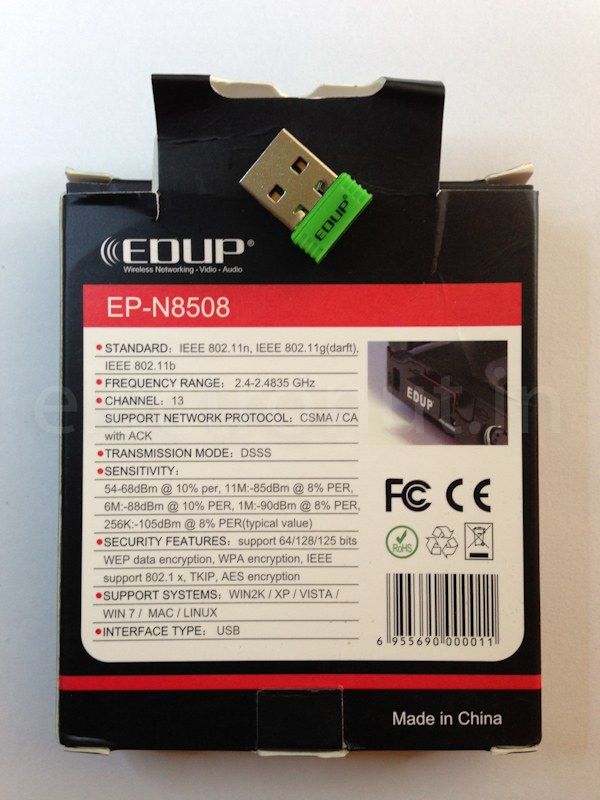
Internet is the next priority, and this USB WiFi adapter works great:
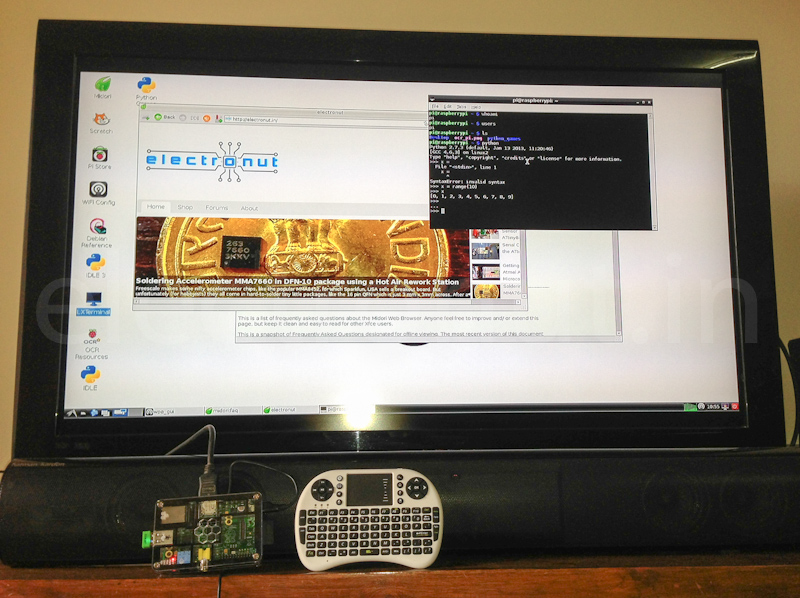
You can use your TV as the RPi monitor, as long as it has an HDMI cable. Here's the my RPi connected to the TV:
The first thing I need for RPi development is to have remote access to it. I don't want to sit in front of my TV and use a miniature keyboard to do coding. So the next thing is to set up ssh on the Pi so I can remote login. For this, we need to get a static IP setup for the Pi. You can read more about this here:
http://elinux.org/RPi_Remote_Access
Here is what my network configuration file looks like:
iface lo inet loopback allow-hotplug wlan0 Now, you can login from your machine (in my case, a Mac) as follows: Note that the default password for the user "pi" is "raspberry". You can also display GUI from the RPi on to your machine as long as you have an X-server running. Start the session with: Now, if you type: The RPi browser window will popup on your remote machine, if you have the X-server setup correctly. But this is painfully slow, which is why I stick to ssh and the command line. Python comes pre-installed with the RPi, which is great. But to use the GPIO pins with Python, you still need to get the appropriate library. Here is how you can do it: Now download the Python GPIO library from: http://code.google.com/p/raspberry-gpio-python Download, unzip, untar, cd into the directory and do: Now you are all set to talk to external hardware with Python! As a simple test of the GPIO, I am hooking up an LED to pin 18 (GPIO5) of the RPi. Here is the code to make this LED blink: Your RPi is all set. Just power it on, and since the WiFi adapter puts it on your network, you can remote login any time from your machine and work on your project. Checking your Raspberry Pi Hardware Version There are several flavors of Pi. ;-) Here is how you can check your version. Hardware : BCM2708 To understand the revision number, refer to the hardware revision history table at this link. In my case, I have the Model B, with PCB Rev 2.0, made in Q4 2012. Plugging in an HDMI cable Edit
pi@raspberrypi /etc/network $ cat interfaces
auto lo</p>
iface eth0 inet dhcp
iface wlan0 inet manual
wpa-roam /etc/wpa_supplicant/wpa_supplicant.conf
iface default inet static
address 192.168.4.31
netmask 255.255.255.0
gateway 192.168.4.1
</code>$ ssh pi@192.168.4.31
$ ssh -X pi@192.168.4.31
$midori
$sudo apt-get update
$sudo apt-get install python-dev
$sudo python setup.py install

pi@raspberrypi ~ $ cat /proc/cpuinfo
processor : 0
model name : ARMv6-compatible processor rev 7 (v6l)
BogoMIPS : 2.00
Features : swp half thumb fastmult vfp edsp java tls
CPU implementer : 0x41
CPU architecture: 7
CPU variant : 0x0
CPU part : 0xb76
CPU revision : 7</p>
Revision : 000f
Serial : 00000000364a6f1c</code>config.txt in the SD Card as follows, to ensure that your Pi recognizes the HDMI cable of your monitor.hdmi_force_hotplug=1